How to create a shared inbox
Step-by-step guide to setting up a shared support inbox in ReplyNook in under 5 minutes — sign in, name your workspace, claim your address, and invite your team.
Last updated
A shared inbox lets a small team answer customer email from one place — no
more forwarding threads around or stepping on each other's replies. This guide
walks you through creating one in ReplyNook from scratch. It takes about five
minutes, and you don't need a password.
By the end you'll have a working shared mailbox, your support address connected,
and your teammates invited.
Sign in with a magic link
ReplyNook has no passwords. Go to the sign-in page and enter your work
email. We email you a single-use magic link — click it and you're in. The link
expires after 15 minutes, so grab it while it's fresh.
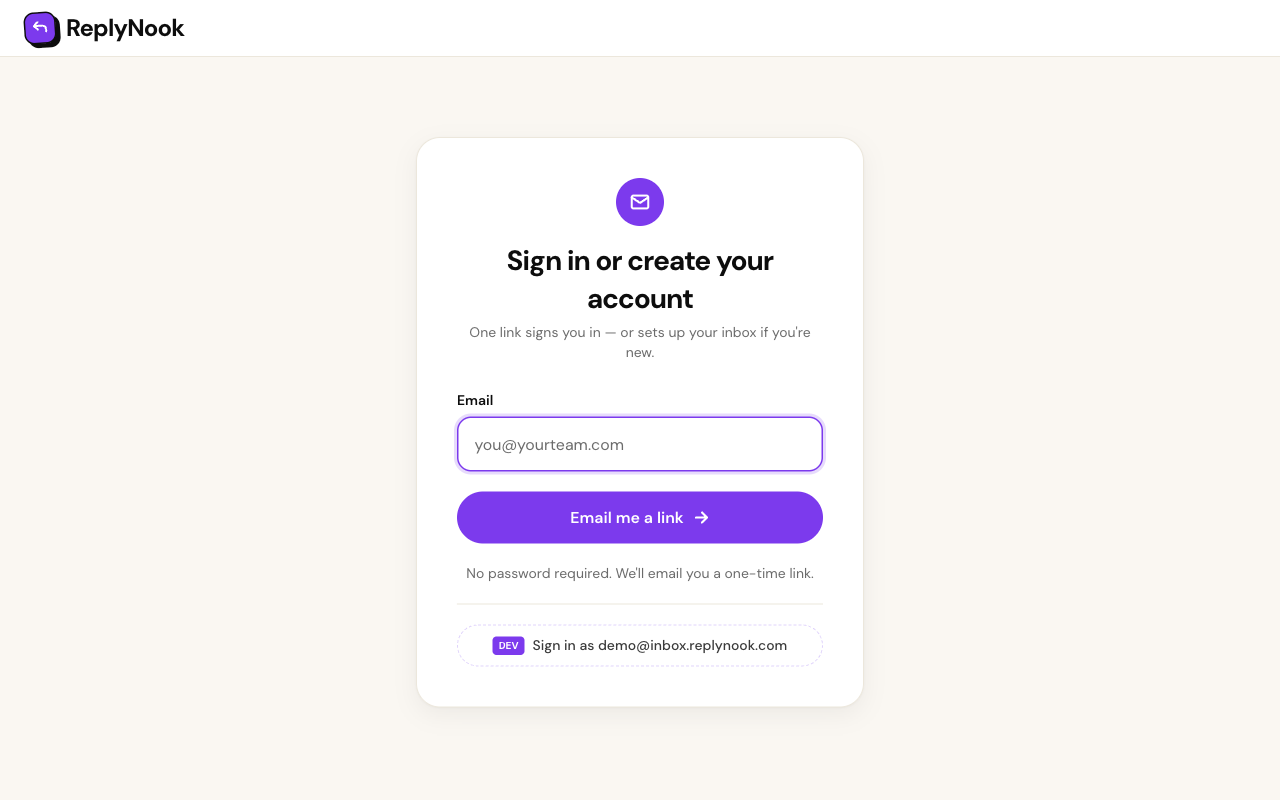
This is also how you'll log back in later: enter your email, click the link.
Nothing to remember, nothing to leak.
Name your workspace
The first time you sign in, ReplyNook asks for a workspace name. This is
usually your company or team name — "Acme Support", say. A workspace is the
container for your shared inbox, your teammates, and your conversations.
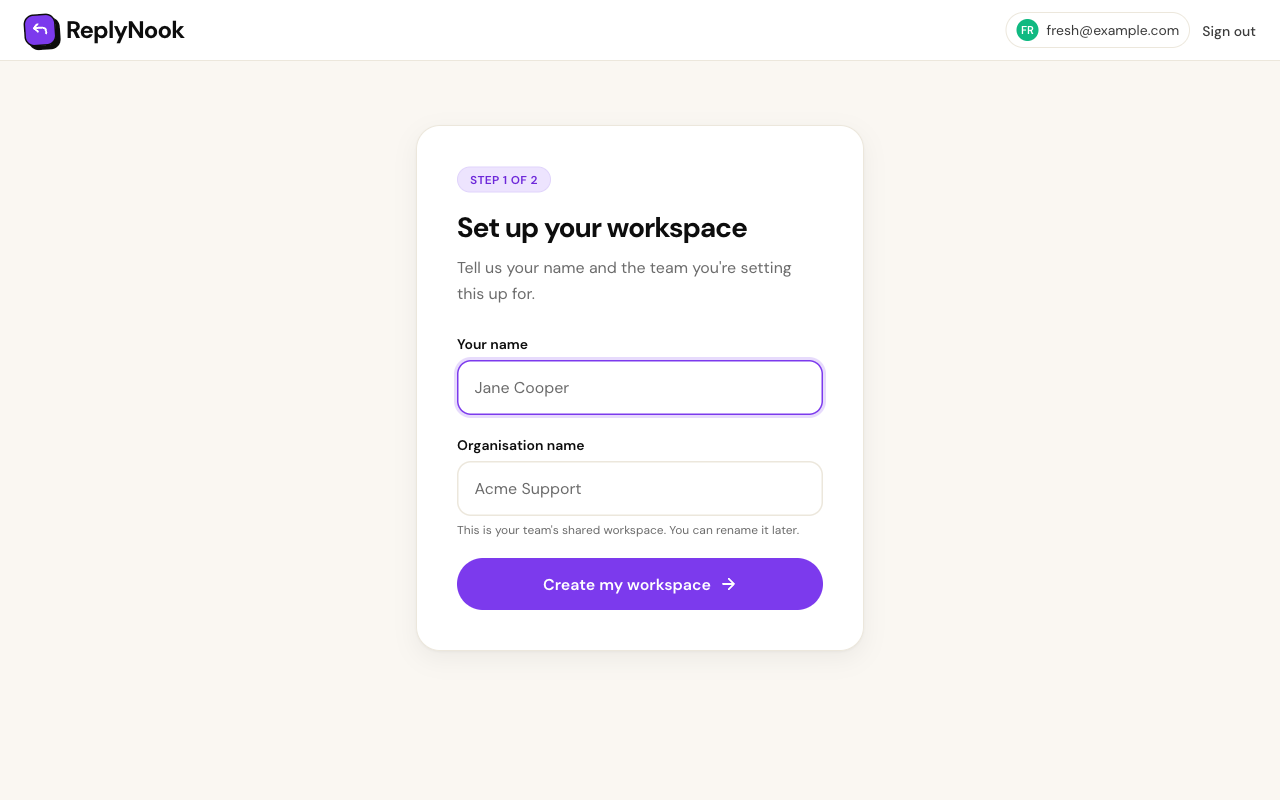
You can belong to more than one workspace (handy if you do support for several
brands), and switch between them at any time.
Claim your shared inbox address
Next, ReplyNook gives your workspace its own shared inbox address on the
inbox.replynook.com domain — something like acme@inbox.replynook.com. This is
the address every incoming and outgoing message flows through.
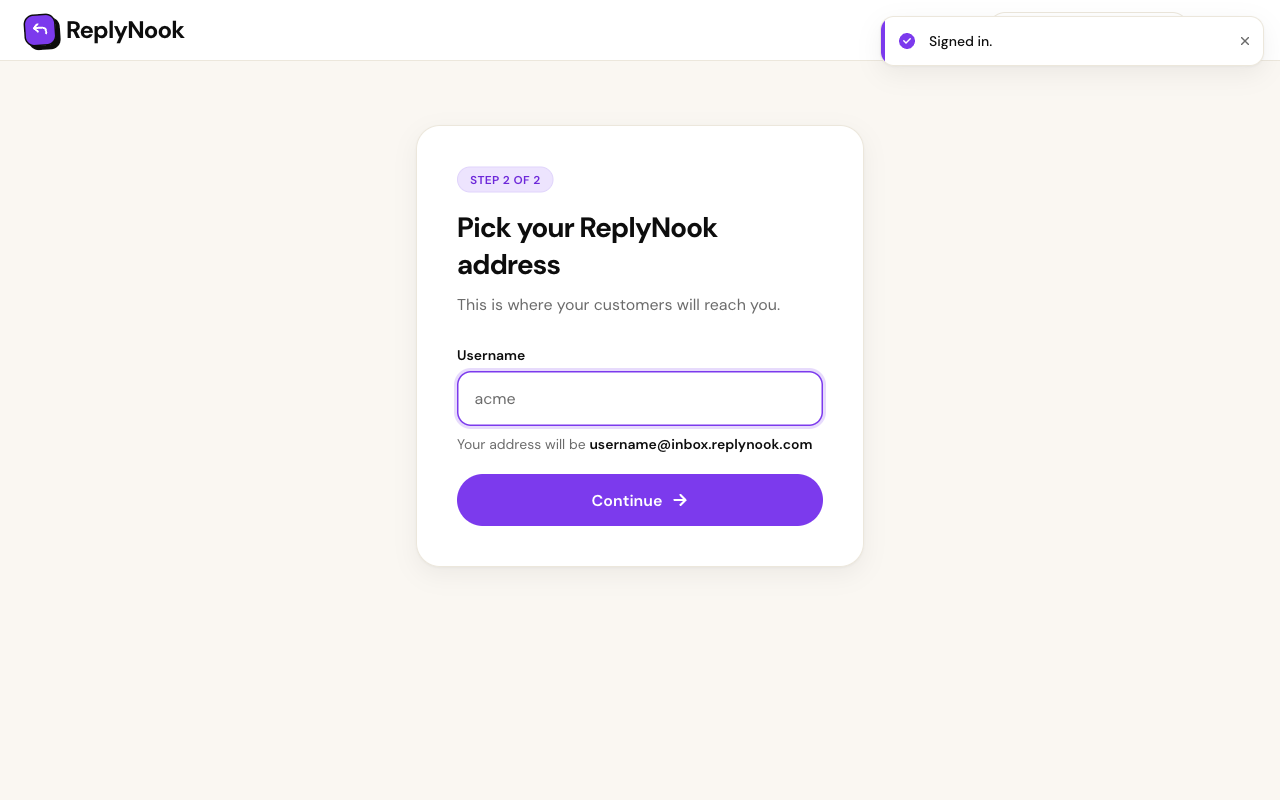
Pick something short and recognisable. This address is where the magic happens:
anything sent to it lands in your shared inbox as a conversation your whole team
can see and reply to.
Connect your support email
Most teams already have a public support address like support@yourcompany.com.
To route it into ReplyNook, set up forwarding from that address to your new
@inbox.replynook.com address — a one-time change in your email provider
(Google Workspace, Microsoft 365, or your domain's mail settings).
From then on, every customer email forwards into your shared inbox, and replies
go out preserving the original thread (ReplyNook follows RFC 5322 threading, so
conversations stay intact in your customers' inboxes).
Your data stays in the EU. ReplyNook receives and sends mail through
EU-region infrastructure, and the raw email is incinerated 30 days after it's
processed.
Invite your team
A shared inbox is only shared once your teammates are in it. Open
Settings → Members, enter a colleague's email, and ReplyNook sends them their
own magic link to join the workspace.
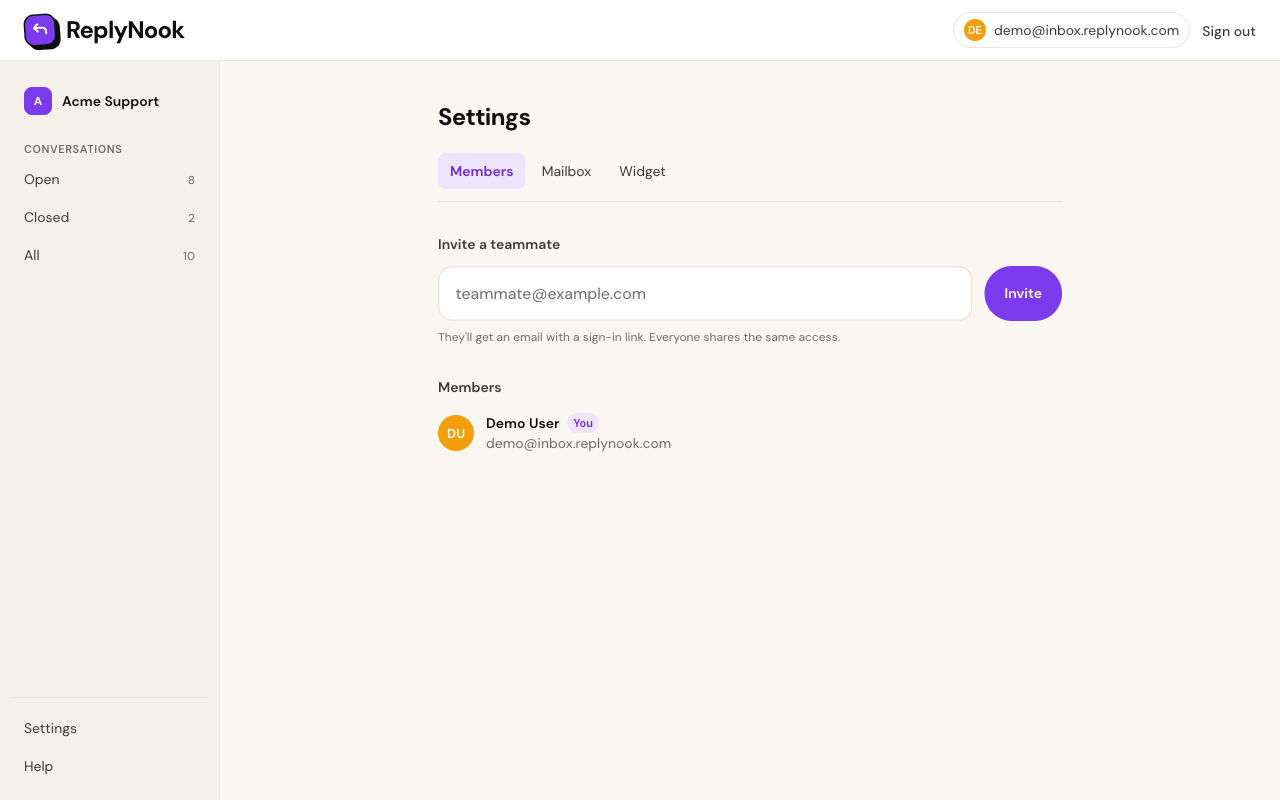
Everyone you invite sees the same conversations and can reply. There are no
roles or permissions to configure at this stage — every member is equal, which
is exactly what a 2–5 person support team needs.
Start replying together
That's it — your shared inbox is live. Incoming email shows up as conversations
in the inbox; open one, type your reply, and send. Mark conversations open or
closed to keep track of what still needs an answer, and use full-text search
to find any past thread instantly.
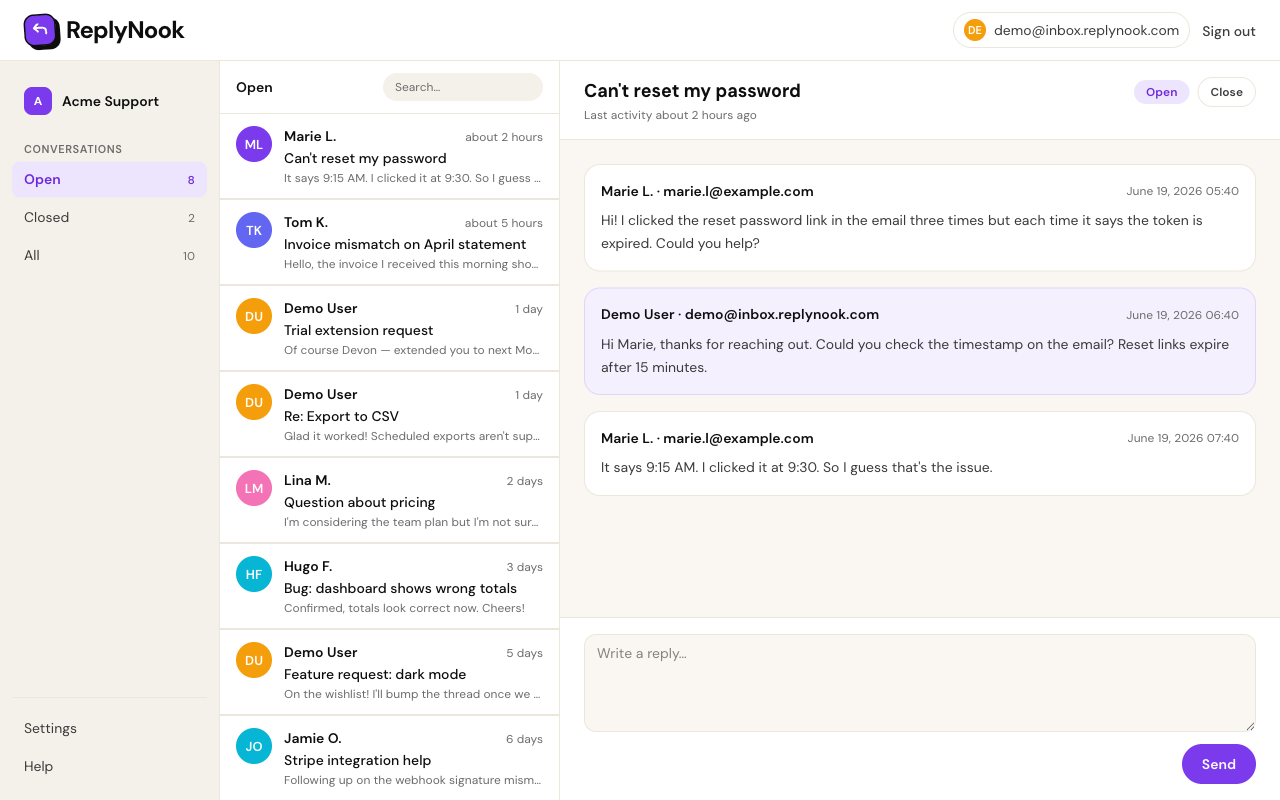
Welcome to shared support email without the bloat. No assignment rules, no tags,
no SLAs to configure — just one inbox your whole team answers from.